- In this article we are going to look at the different options to securely connect your website to the WP Managify control panel.
From where to add your website to WP Managify?
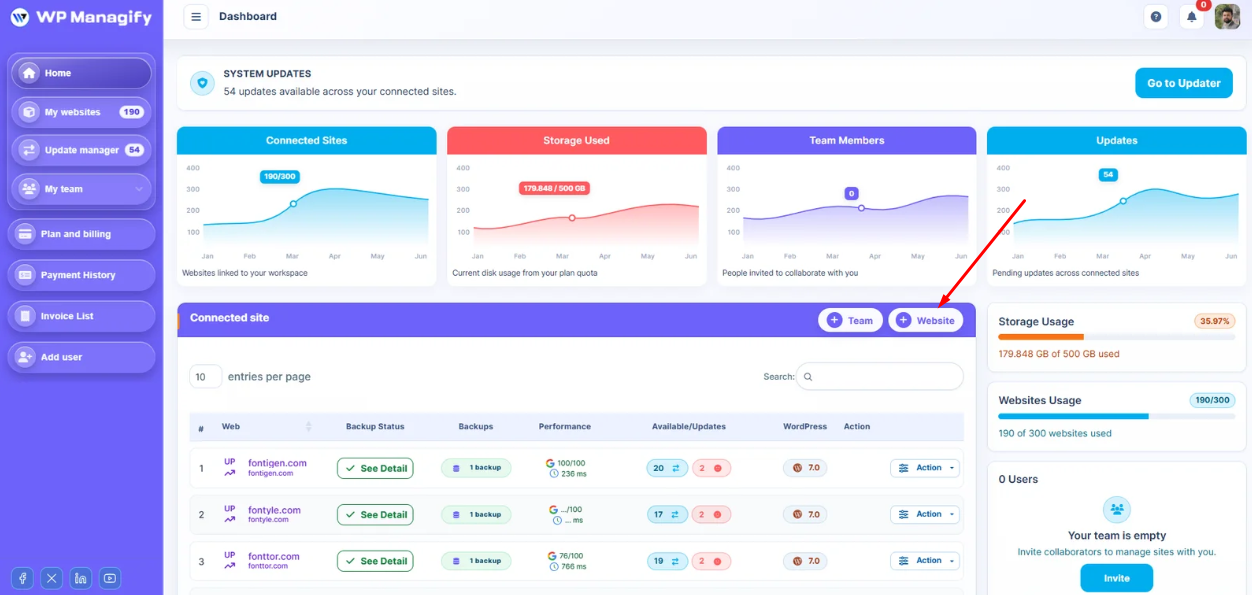
- In the dashboard page from the table top of the right side website add a button.
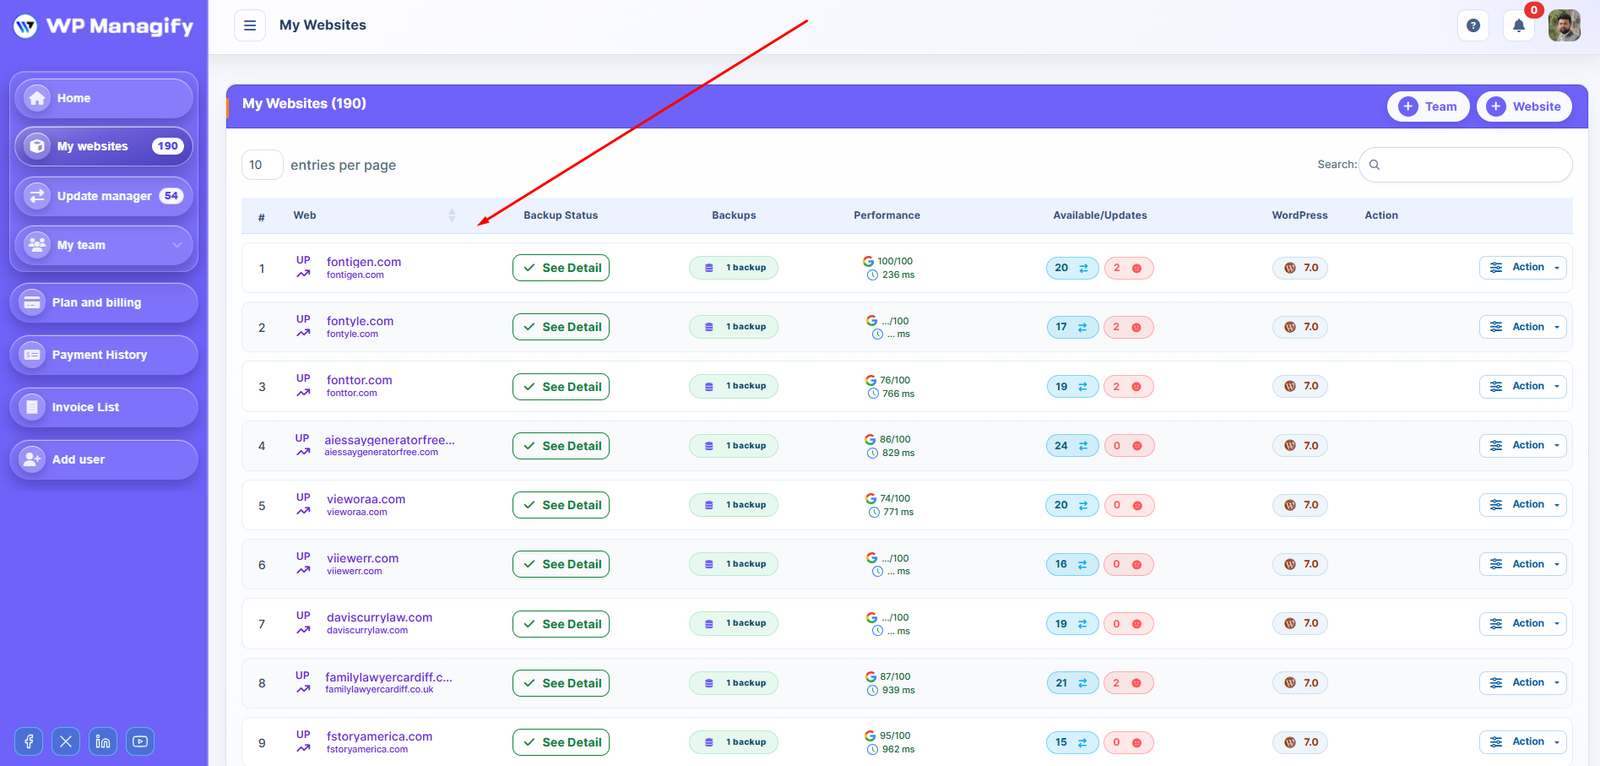
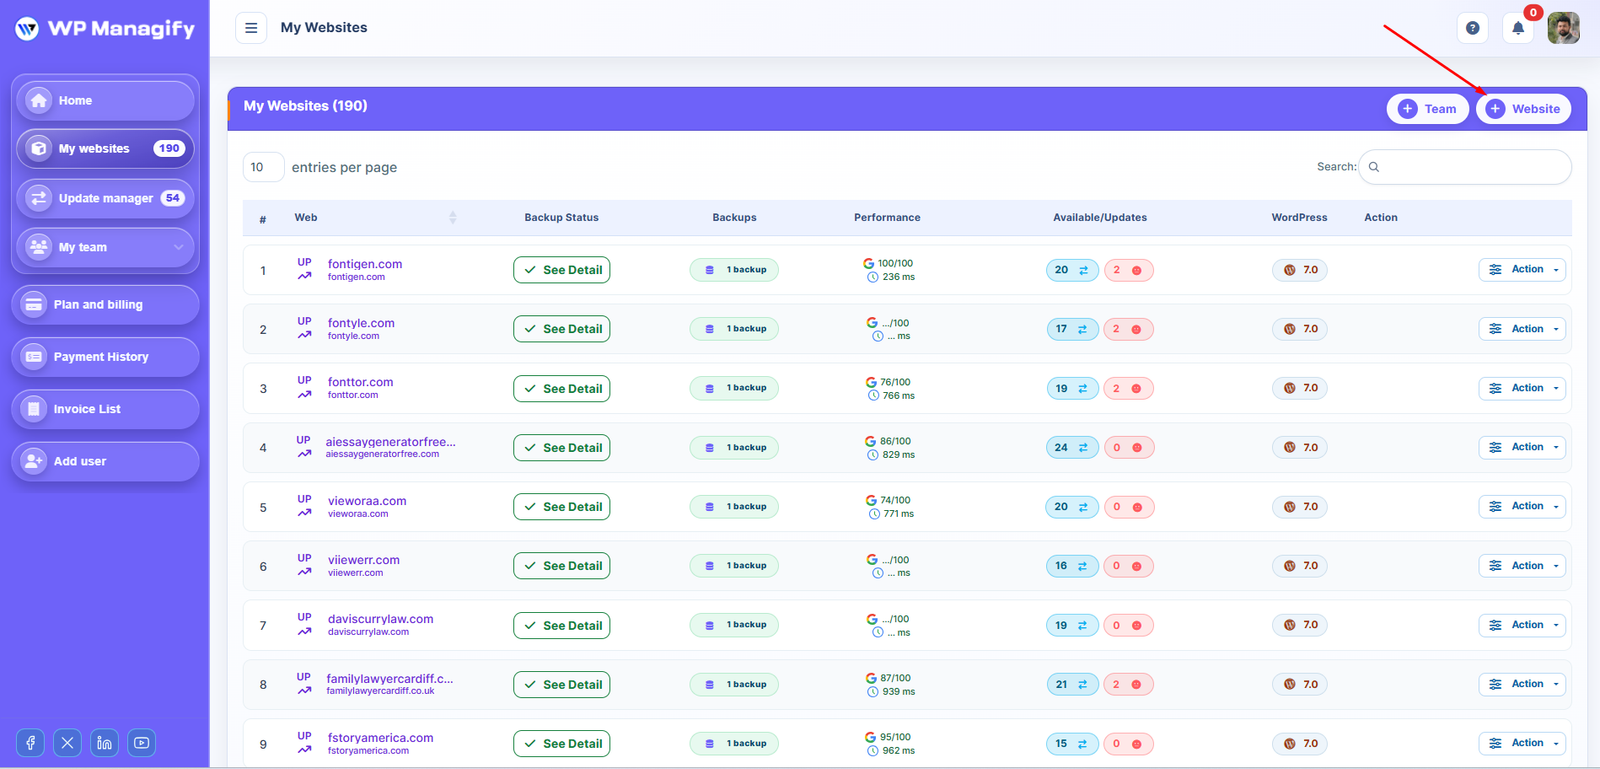
Also add from the My website page from the table top of the right side website add a button.
How to add a website to WP Managify
Next we are going to see the different steps you must follow to connect a website to WP Managify once you have clicked on one of the buttons above.
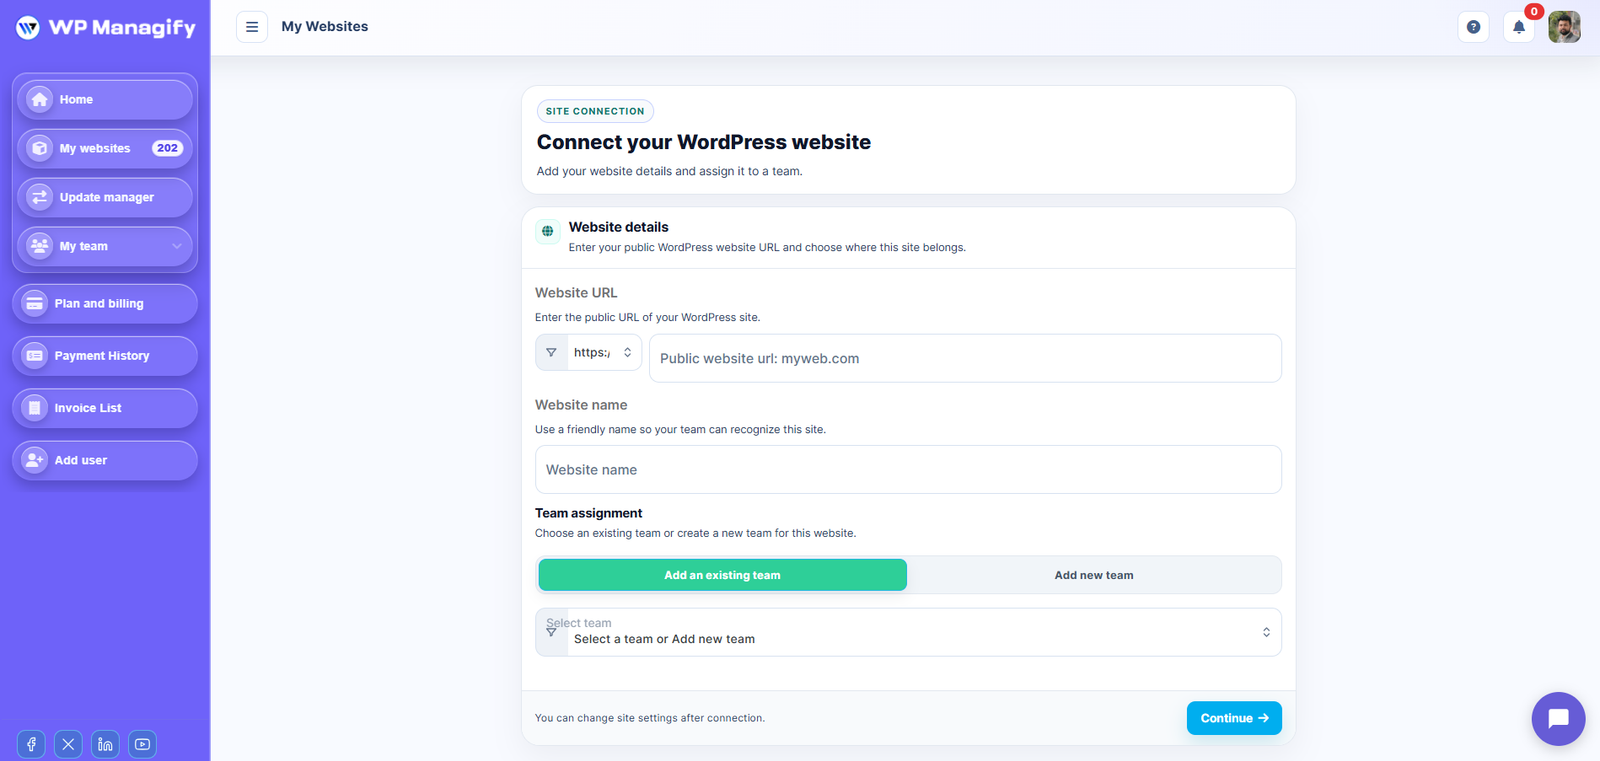
1. Enter the basic data of the website
Fill in the following:
- Website URL — your site address (no http / https needed)
- Website Name — Just for display and easy to manage
Team — Team for easy to manage multiple websites. Each website staying under any team. You need to create at least one team.
2. Establish the connection
There are two options to connect your websites to the tool. One is manual to adding the connector plugin to your website and the next one is automatic.
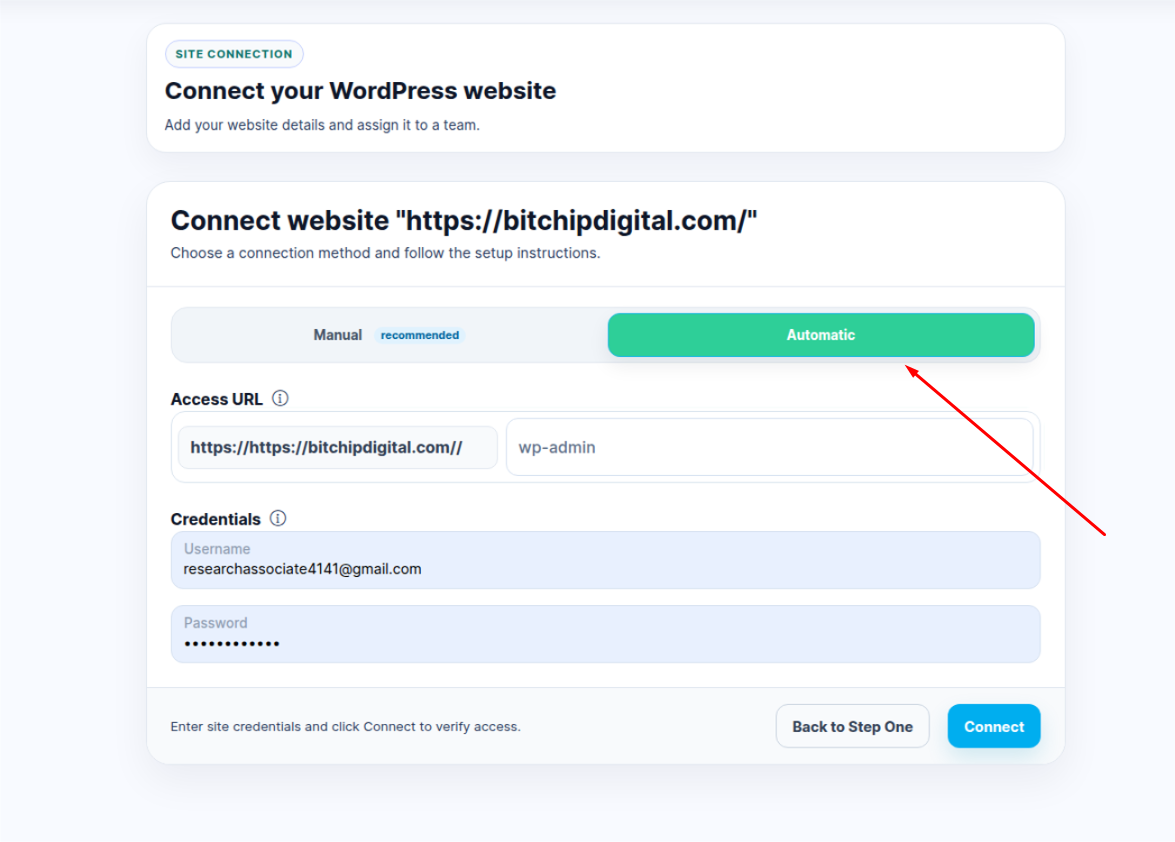
Automatic connection
For the fastest setup:
- Enter your Access URL ( Here is your website wordpress dashboard url. Example: yourdomain.com/wp-admin )
- Credential:
-> Username: (Here is your WordPress Dashboard username)
-> Password: (Here is your WordPress Dashboard password)
Then click Connect.
WP Managify will securely connect your site automatically.
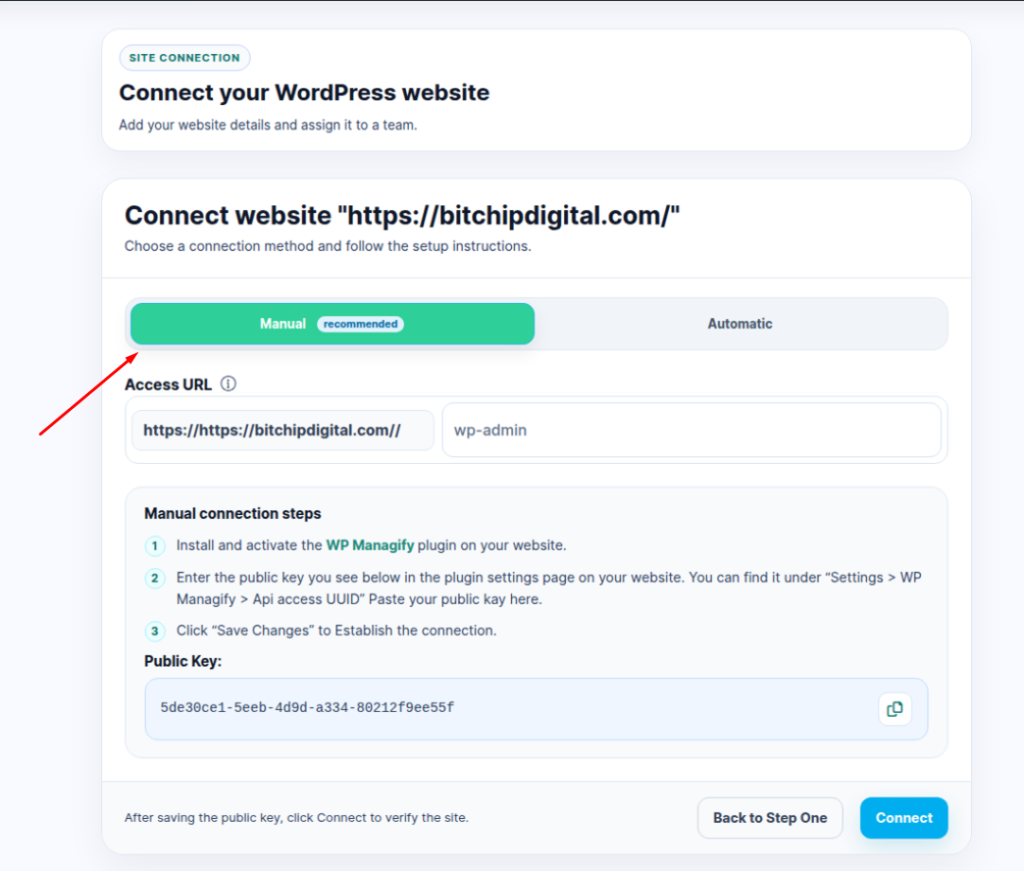
Manual connection
- Connect manually?
1. Click to the Manual Tab right side of Automatic Tab
2. Download the WP Managify plugin (you’ll see the link) and Copy your Public Api Key.
3. Go to your wordpress dashboard then → Plugins → Add New → Upload → Activate.
4. Go to WP Managify plugin -> settings and Paste your Public Key from WP Managify.
5. Click Connect.
And that’s it. Your website will be added to the WP Managify dashboard and you will be able to start taking advantage of all the features of the tool.