Reports in WP Managify help you track, analyze, and share the health and performance of your websites with clients or team members. You can customize each report with different sections and formats to match your needs.
How to Create a Report
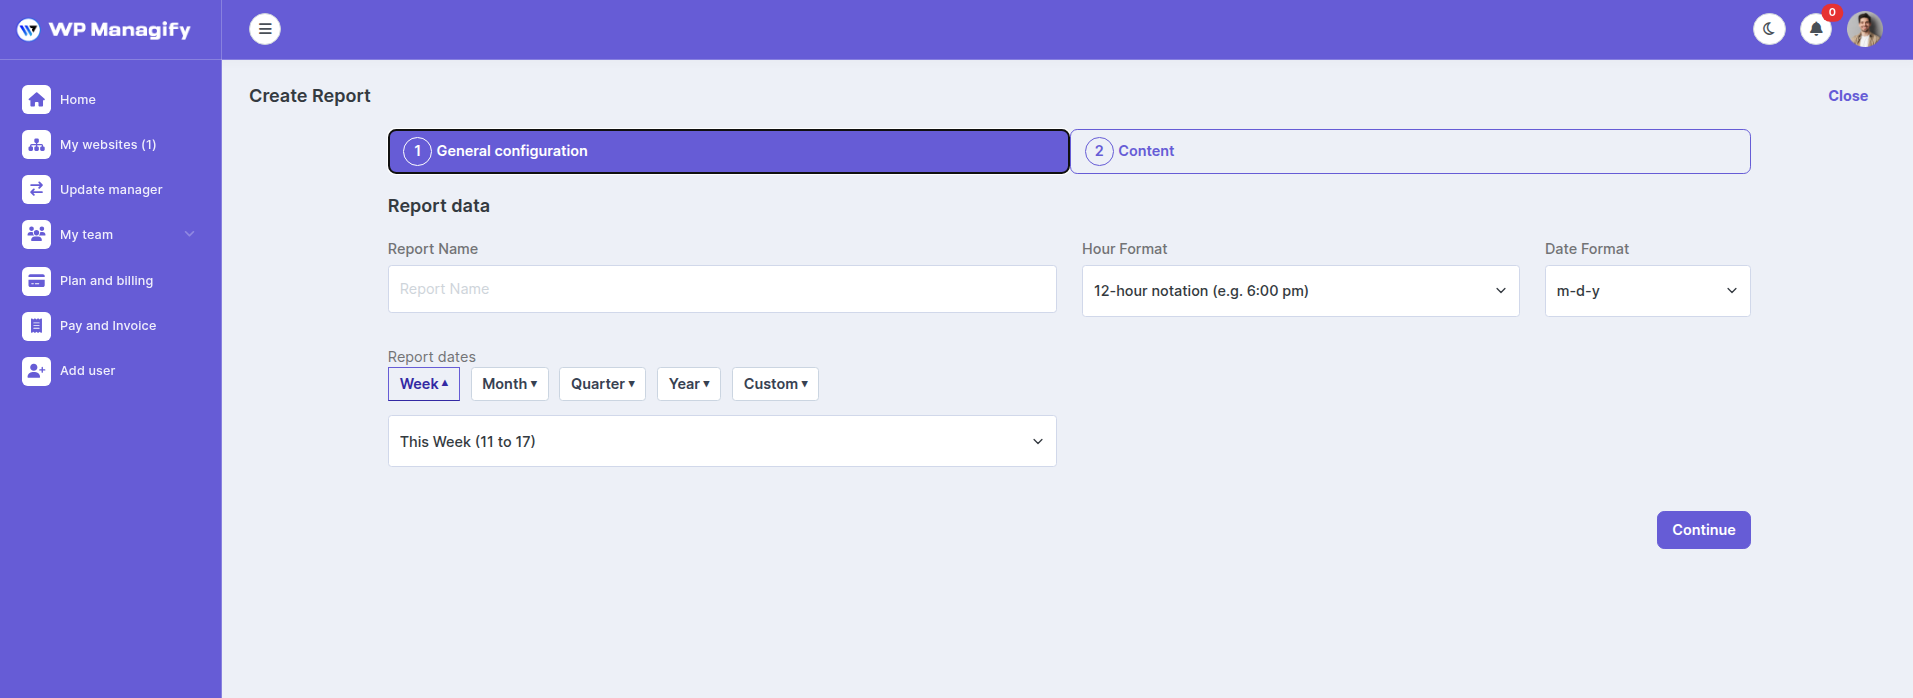
- Step 1 – General Configuration:
- Enter the Report Name.
- Choose the date range (Week, Month, Quarter, Year, or Custom).
- Select Hour Format (12-hour or 24-hour) and Date Format.
- Click Continue.
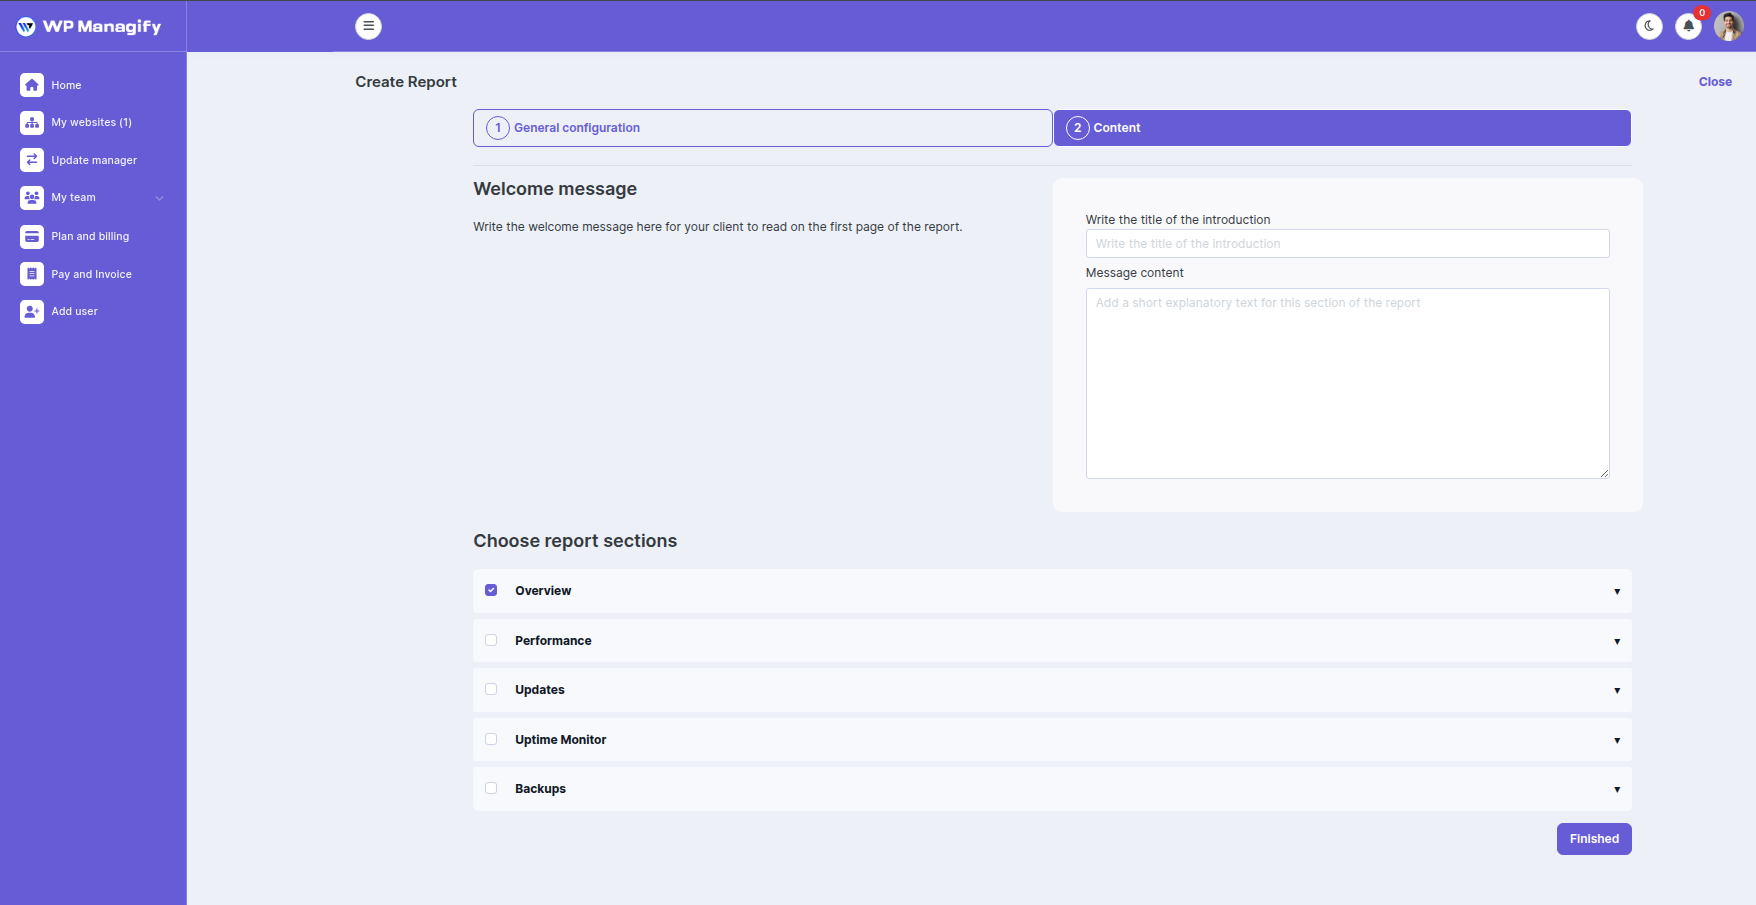
- Step 2 – Content Setup:
- Add a Welcome Message (title and short introduction).
- Choose the report sections you want to include (Overview, Performance, Updates, Uptime Monitor, Backups).
- Add any explanatory text for each section if needed.
- When finished, click Save/Finish.
Your customized report will be generated and ready to share or download.
Benefits of Creating Reports in WP Managify
- Client Transparency: Keep your clients informed with easy-to-understand reports.
- Time-Saving: Automates the process of compiling website performance, updates, and uptime data.
- Professional Branding: Reports can be customized with your own messaging, making them look professional and client-ready.
- Better Decision Making: Access clear insights on performance, updates, and backups to plan improvements.
- Historical Tracking: Compare weekly, monthly, or yearly reports to monitor progress over time.